A written story is great to read, but a film travels. It grabs attention in the first second of a feed, it plays in messages, and it gives a story a life beyond the page. The hard part used to be everything between the words and the video: storyboarding, character design, animation, voice, music, captions, export. AI now collapses that whole pipeline into a handful of steps you can run in a browser. This guide walks through exactly how to do it.
Throughout, the running example is a short story — a premise, a couple of characters, a beginning, a middle and an end. The same workflow scales up to a longer multi-scene film and down to a single short clip. If you already have a comic instead of a written story, the comic to video hub covers that path; the core idea is identical.
What "story to video" actually means
A story-to-video AI turns writing into a moving film without filming or animating it by hand. You give it text; it reads the text, breaks it into scenes, designs the characters, and renders each beat as a moving clip. The result is a multi-scene movie assembled from the words you wrote.
The thing that separates a real story-to-video tool from a generic text-to-video generator is consistency. A generic tool forgets what it drew a second ago, so two scenes describing the same character produce two different-looking people. A story is ruined by that drift. ComicInk keeps one locked cast across the whole film, so the character in scene one and the character in scene ten are unmistakably the same person.
Step 1 — Pitch the story
Start by giving the AI your story. Paste in something you have already written, or type a fresh idea in plain language. A few sentences is enough to get going; a few paragraphs gives the AI more to hold onto. You do not need to format a screenplay or describe camera angles — that is the AI's job in the next step.
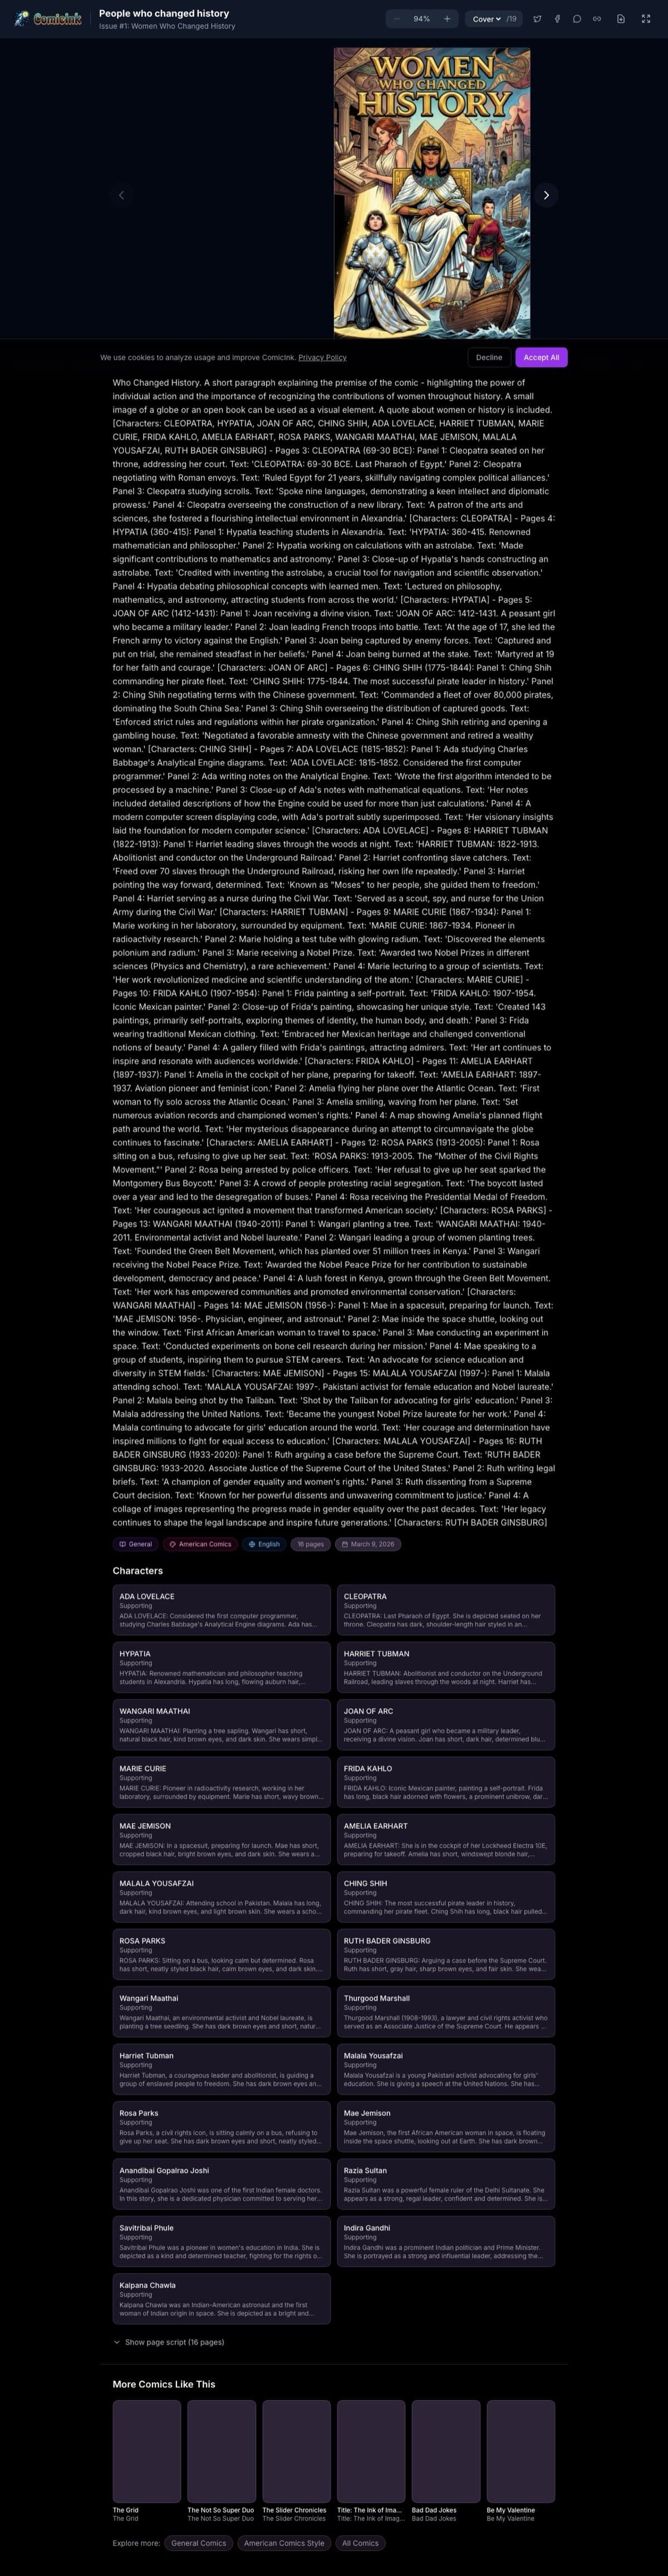
While you are here, pick an art style. There are 12 art styles to choose from — the same hand-tuned looks that power ComicInk comics, from bold western comic ink to clean anime and soft painterly renders. Whatever you pick, the whole film stays in that one style so it never drifts into a generic AI look between shots.
Step 2 — Let the AI auto-storyboard it
Once you submit the story, the AI does the directing. It reads your text and turns it into an ordered storyboard: a set of scenes, each with a shot description, the characters in frame, and suggested dialogue. This is the blueprint for your film, and it is fully editable.
Read the storyboard before you render anything. This is the cheap place to make decisions — re-order scenes, rewrite a shot description, change the dialogue, or trim a beat that does not earn its place. The AI's first pass is well-structured but generic; customizing it here is where your story's voice goes in.
Step 3 — Lock the cast
This is the step that makes the difference between a film and a pile of unrelated clips. Before a single scene renders, every character in your story is fingerprinted — a persistent visual definition of how they look. Every scene that includes that character draws from the same definition, so the face, the outfit and the proportions stay identical shot after shot.
It is not only people. Props and locations get fingerprinted too — a signature costume, a vehicle, the specific room where the confrontation happens — so they return looking the same every time they appear. The more specific your character and setting descriptions are at this stage, the stronger the lock and the more consistent the output.
If your characters already live in a ComicInk comic, they are pre-locked. The video reuses the cast you already designed, so there is no re-casting and no drift between the comic and the film.
Step 4 — Render and export
With the storyboard set and the cast locked, render. Each scene renders as a moving clip and assembles into one continuous film in the editor. From there you add the layers that turn clips into something people want to watch:
- Auto captions timed to the spoken dialogue and fully editable — effectively mandatory for social, where most video is watched on mute.
- Music from the built-in library, or a track you upload yourself, mixed under the dialogue.
- Spoken voices so characters actually talk, rather than narration over a slideshow.
- Camera motion per scene — a slow push in, a pull out, a pan — the most direct signal to an audience about what to feel.
These editing layers are part of the edit, not a separate render, so they do not burn extra credits. When the film is ready, export a 720p video you can download and post anywhere — with no watermark and no tier to unlock the export.
What it costs to try
Every new account starts with 100 free credits and no card required. On top of that, your first video scene renders free — one free render per account — so you can watch your story turn into a real moving clip and judge the character consistency before you spend anything. After that, video is billed by the second of footage, so a longer film simply costs more. There are no tiers and no subscription; you pay for the footage you render.
One note: video creation is web-only today. The iOS app is the full comic studio, but to direct a film, open comicink.ai in a browser.
The workflow in summary
- Pitch the story — paste or write it, pick one of 12 art styles.
- Auto-storyboard — the AI breaks it into editable scenes with shots and dialogue.
- Lock the cast — characters, props and locations are fingerprinted for consistency.
- Render and export — add captions, music, voices and motion, then export a 720p film.
That is the whole path from words to a finished animated video. If you want to go deeper on the comic-to-film version of this workflow, head to the comic to video hub — it links out to every video tool ComicInk offers, all running on the same consistent-cast engine.
Ready to make one? Turn your story into a video free — paste a story, pick a style, and watch your first scene render free. No card required.